How to Install Sod So It Roots Instead of Shrinking
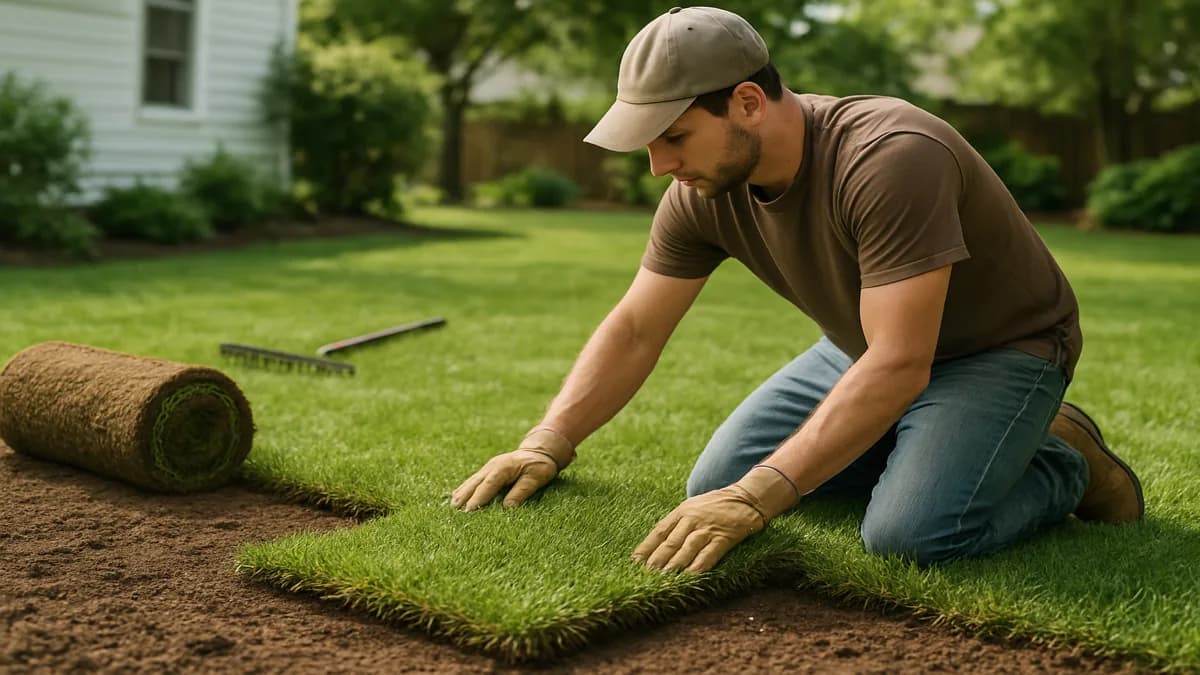
Sod succeeds when the soil is ready before the pallet arrives. Measure first, fix grade, lay tight staggered rows, roll once, and water on schedule.
On this page
- Tools and Materials
- Step 1: Measure and Order Sod
- Worked Example
- Step 2: Remove Old Grass and Weeds
- Step 3: Fix the Grade
- Step 4: Prepare the Soil
- Step 5: Rake, Firm, and Pre-Water
- Step 6: Lay Sod in Staggered Rows
- Step 7: Roll Once and Water Immediately
- Watering Schedule for the First Two Weeks
- When to Mow and Fertilize
- When to Skip DIY Sod Installation
- Common Sod Installation Mistakes
Install sod by measuring the lawn, ordering enough rolls for cuts, removing old turf, fixing the grade, loosening and amending soil, laying sod in staggered tight rows, rolling lightly, and watering immediately. The job is simple, but the timing is unforgiving: sod roots only when fresh grass meets firm, moist, prepared soil.
Assumptions for this guide: a U.S. residential lawn, fresh sod delivered the same day it is laid, active growing season for your grass type, and no local watering ban. If you are comparing DIY cost against a crew, check sod price by square foot before you order.
Tools and Materials (opens in a new tab)
Have everything on-site before the pallet shows up. Sod heats up in a stack, especially in warm weather, so a missing rake or hose can cost you live grass.
| Item | Why You Need It | Garden-Center Note |
|---|---|---|
| Measuring tape or wheel | Calculates square footage | Measure beds and curves separately |
| Sod cutter, shovel, or rental cutter | Removes old turf | Best for stripping an existing lawn |
| Bow rake and landscape rake | Grades and smooths soil | Use both coarse and final passes |
| Lawn roller | Presses sod to soil | Fill lightly, not like road equipment |
| Sharp knife | Cuts around edges | Change blades often |
| Starter fertilizer | Helps rooting when allowed | Follow the bag and local phosphorus rules |
| Hose, sprinkler, or irrigation system | Starts rooting immediately | Test coverage before laying sod |
Step 1: Measure and Order Sod (opens in a new tab)
Measure the lawn in square feet, then add waste for cuts. A clean rectangle may need about 5% extra. Curved beds, stepping-stone paths, trees, and narrow strips can push waste closer to 10%.
Do not order sod in separate rounds unless you have no choice. Different harvests can vary in color, moisture, and maturity. If you run short and buy later, the patch may show for weeks.
Worked Example (opens in a new tab)
Say the front yard is 42 feet by 28 feet, and the side strip is 8 feet by 55 feet.
| Area | Math | Square Feet |
|---|---|---|
| Front yard | 42 x 28 | 1,176 |
| Side strip | 8 x 55 | 440 |
| Total lawn | 1,176 + 440 | 1,616 |
| 10% waste for cuts | 1,616 x 0.10 | 162 |
| Sod to order | 1,616 + 162 | 1,778 sq ft |
For this yard, order about 1,780 square feet of sod. Round based on how your supplier sells rolls or pallets.
Step 2: Remove Old Grass and Weeds (opens in a new tab)
Sod does not belong on top of old turf. Existing grass, weed crowns, roots, and thatch create a dry layer between new sod and soil. Strip the old lawn with a sod cutter, shovel, or herbicide plan that follows the product label and waiting period.
Rake out rocks, wood, plastic edging scraps, roots, and clods larger than a golf ball. If perennial weeds were thick, remove roots instead of just shaving the tops. New sod hides shortcuts for about a week, then the shortcuts show.
Step 3: Fix the Grade (opens in a new tab)
Grade before soil amendments, fertilizer, or sod. The surface should drain away from the house, shed, patio, and walkways. Low spots that hold water will rot roots. High ridges will scalp when you mow.
Aim to leave the prepared soil about 1 inch below sidewalks, driveways, and patios so the sod sits flush after installation. Around irrigation heads, valve boxes, drains, and edging, check the finished height twice. Raised sod at a hard edge dries first and gets chewed by mower wheels.
If the lawn has broad bumps or settled areas, use the leveling approach in topdressing your lawn before you sod. Severe drainage problems need correction before any grass goes down.
Step 4: Prepare the Soil (opens in a new tab)
Loosen compacted soil 3 to 4 inches deep so roots can move down. You can till small bare areas, use a garden fork, or hire a core aerator for larger sites that are already mostly bare. Do not pulverize wet clay into paste.
Use a soil test if the lawn has struggled for years, if you are changing grass type, or if fertilizer never seems to work. The process in how to soil test your lawn will tell you whether pH or nutrients are the real problem.
Spread starter fertilizer only at the label rate. If you need soil to bring the grade up, calculate the depth first instead of eyeballing bags.
Step 5: Rake, Firm, and Pre-Water (opens in a new tab)
Rake the soil smooth, then firm it enough that your shoe leaves only a shallow print. You want contact, not fluff. If you sink in deeply, the grade will settle after watering and make the sod lumpy.
Water the prepared soil the day before installation if it is dry. On installation morning, the surface should be moist but not muddy. Laying sod on powder-dry soil steals water from the roots. Laying it into mud smears the grade and compacts the surface.
Step 6: Lay Sod in Staggered Rows (opens in a new tab)
Start along the longest straight edge: a driveway, sidewalk, fence, or string line. Lay the first row straight because every row after it follows that line. Push edges together tightly without stretching the sod.
Stagger seams like brickwork. Do not create four corners meeting in one spot, and do not line seams up across the whole lawn. Cut ends with a sharp knife and save usable pieces for small gaps, but skip tiny scraps that will dry out.
| Situation | Best Practice | Mistake to Avoid |
|---|---|---|
| Straight edge | Start with a full row | Following a wavy bed line first |
| Seams | Stagger like bricks | Long continuous seams |
| Curves | Cut after sod is placed | Stretching pieces around bends |
| Slopes | Lay across the slope | Running seams downhill |
| Hot day | Water sections as you go | Waiting until the whole yard is done |
On slopes, lay sod across the slope and use sod staples if pieces slide. Keep traffic off fresh rows. Use plywood sheets if you must move wheelbarrows or tools across laid sod.
Step 7: Roll Once and Water Immediately (opens in a new tab)
After a section is down, roll it lightly to press roots into soil and remove air pockets. The roller should settle the sod, not mash the lawn. Heavy rolling on wet soil causes compaction, which is the problem you just tried to fix.
Water each finished section within 30 minutes when the weather is warm, windy, or sunny. Lift a corner after watering: the sod bottom and the top inch of soil underneath should be wet. If the soil under the sod is still dry, keep watering.
Watering Schedule for the First Two Weeks (opens in a new tab)
New sod watering is about shallow moisture at first, then deeper roots. For a full aftercare plan after the first two weeks, use how to care for new sod.
| Time After Install | Watering Goal | Typical Pattern | Check |
|---|---|---|---|
| Day 1 | Soak sod and top inch of soil | Water immediately, then again if edges dry | Lift a corner |
| Days 2 to 7 | Keep moist, not swampy | 2 to 3 light waterings per day in warm weather | Footprint should not puddle |
| Days 8 to 14 | Encourage deeper rooting | 1 deeper watering per day or every other day | Sod resists a gentle tug |
| After rooting starts | Taper toward normal irrigation | Fewer, deeper soakings | Follow local weather |
Use a rain gauge or straight-sided can to see how much water your sprinkler puts down. Sunny edges, slopes, and sod beside concrete dry faster than shaded middle sections. For mature-lawn timing later, see how often to water your lawn.
When to Mow and Fertilize (opens in a new tab)
Mow only after the sod has rooted enough to resist a light tug and the grass is about one-third taller than its target height. Use a sharp blade, remove no more than one-third of the leaf, and turn the mower gently. Check lawn mowing height by grass type so you do not scalp new turf.
If you used starter fertilizer at installation, wait before feeding again. If you skipped starter fertilizer, follow the sod farm or soil-test guidance and label rate. For the fertilizer basics, read starter fertilizer for lawns.
When to Skip DIY Sod Installation (opens in a new tab)
Skip DIY sod if the yard has major drainage problems, steep slopes, irrigation that does not work, large tree roots at the surface, or a grade that needs machinery. Also skip it when weather is hot and dry and you cannot water several times per day for the first week.
Small rectangles are good DIY projects. A full backyard with slopes, gates, poor access, and a dead irrigation zone is often cheaper to hire once than repair twice.
Common Sod Installation Mistakes (opens in a new tab)
Most failed sod jobs are not mysterious. They come from rushed prep and weak watering.
- Laying sod over old grass or weeds
- Ordering too little and patching with a later batch
- Leaving the grade too high against sidewalks
- Stretching sod pieces so seams shrink open
- Forgetting to stagger seams
- Rolling saturated soil with a heavy roller
- Watering the blades but not the soil underneath
- Mowing before roots grab
Walk the lawn every morning for the first two weeks. Tug corners lightly, watch edges near pavement, and fix dry spots immediately. Sod is expensive, but it is honest: if the soil is right and the water is consistent, it tells you by rooting.
Frequently asked questions
Calculators for this job
Sod Calculator
Enter your lawn area to get square feet, individual pieces, and pallets, plus the cut allowance you'll actually need. Sod is perishable, so ordering short means a second delivery fee.
OpenLawn Area Calculator
Almost every other lawn number depends on this one. Break your yard into simple shapes, subtract the parts that aren't grass, and get a square footage you can use for seed, fertilizer, and quotes.
OpenFertilizer Calculator
Turf guidance is written in pounds of nitrogen per 1,000 sq ft, but fertilizer is sold as a percentage analysis. This converts between them for any bag you have, enter the three numbers on the front.
OpenSoil Calculator
Work out soil volume for any planting area, then see it costed as bags and as bulk. Handles rectangular beds, curved borders, circles, and irregular shapes built from sections.
OpenKeep reading
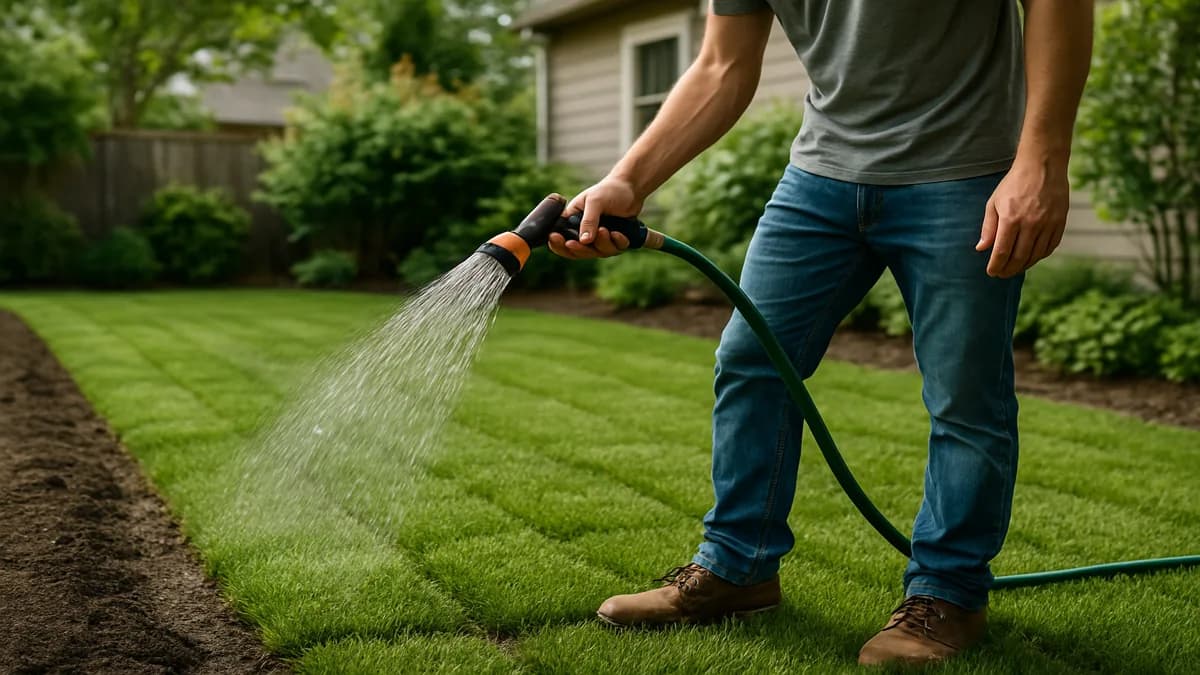
New Sod Care: Watering, Mowing, and Fertilizing Without Wasting Money
New sod is thirsty and fragile. Here’s the watering schedule, mowing timing, and fertilizing tips that actually work in U.S. lawns.
7 min read
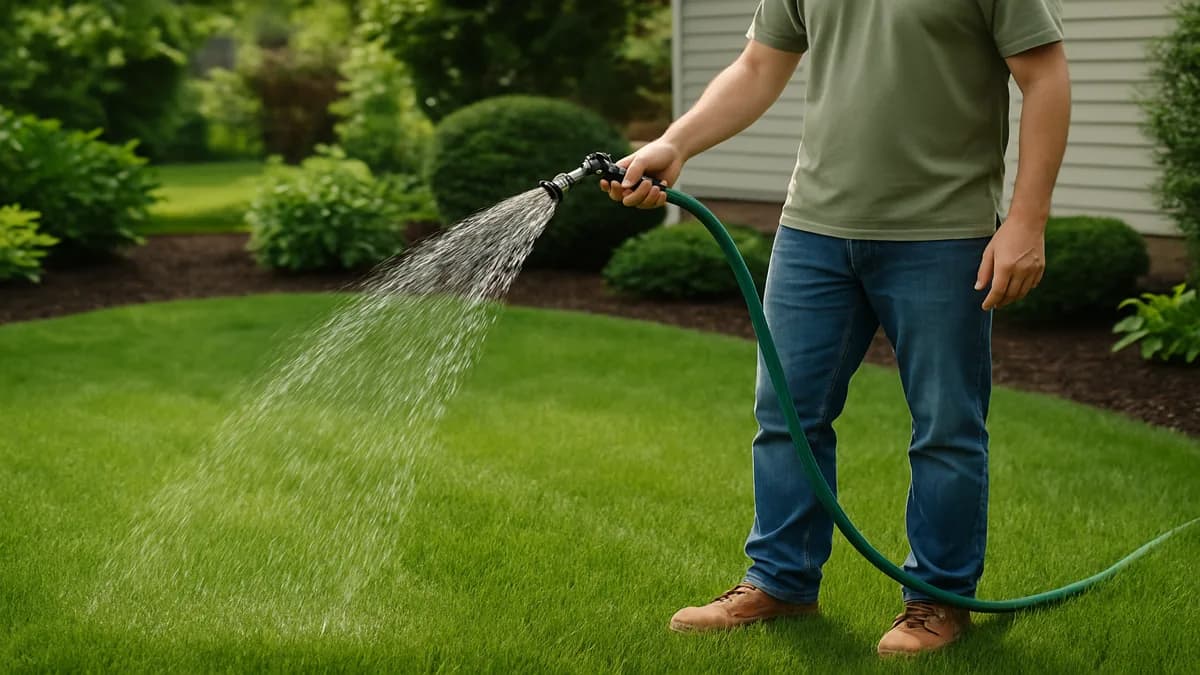
How Often Should You Water Your Lawn?
Most established lawns need about 1 to 1.5 inches of water per week including rain. Water deep and infrequent, not a little every day.
6 min read
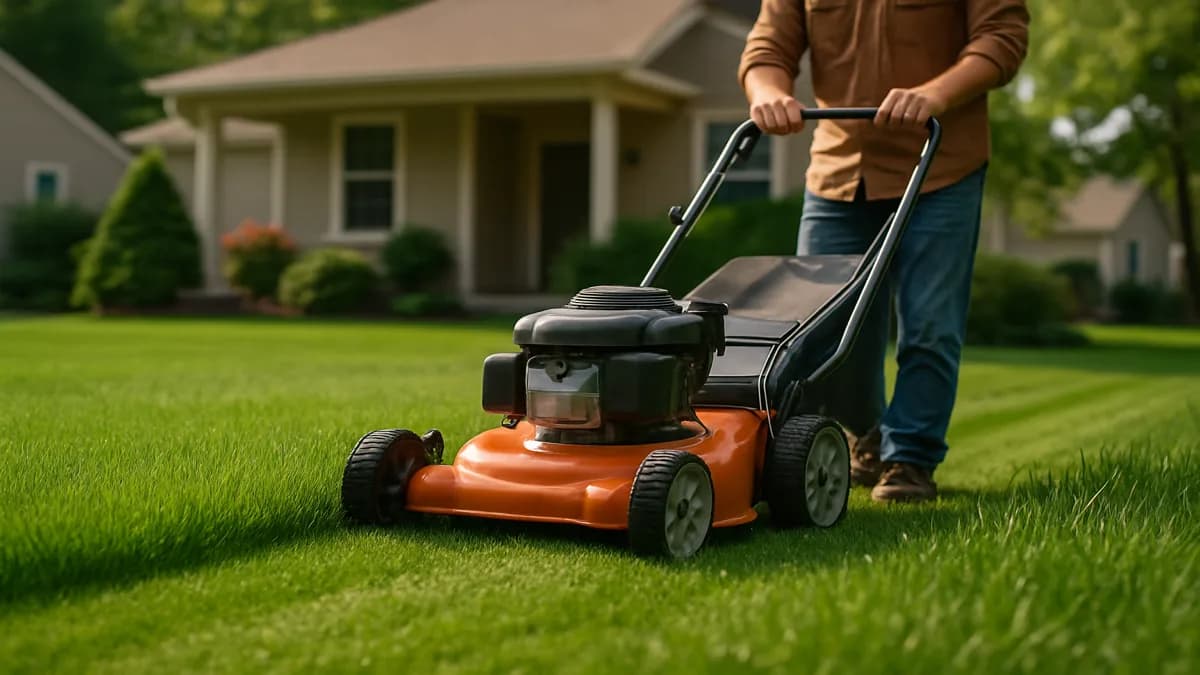
Lawn Mowing Height by Grass Type (Plus the One-Third Rule)
Mowing height is a cultural practice, not a preference. Match the deck to your grass, never cut more than one-third, and raise the cut in heat.
6 min read
Spotted something out of date or wrong? Tell us , we correct guides rather than leaving them to rot.