How to Build a Treehouse That Lasts (and Doesn’t Kill the Tree)
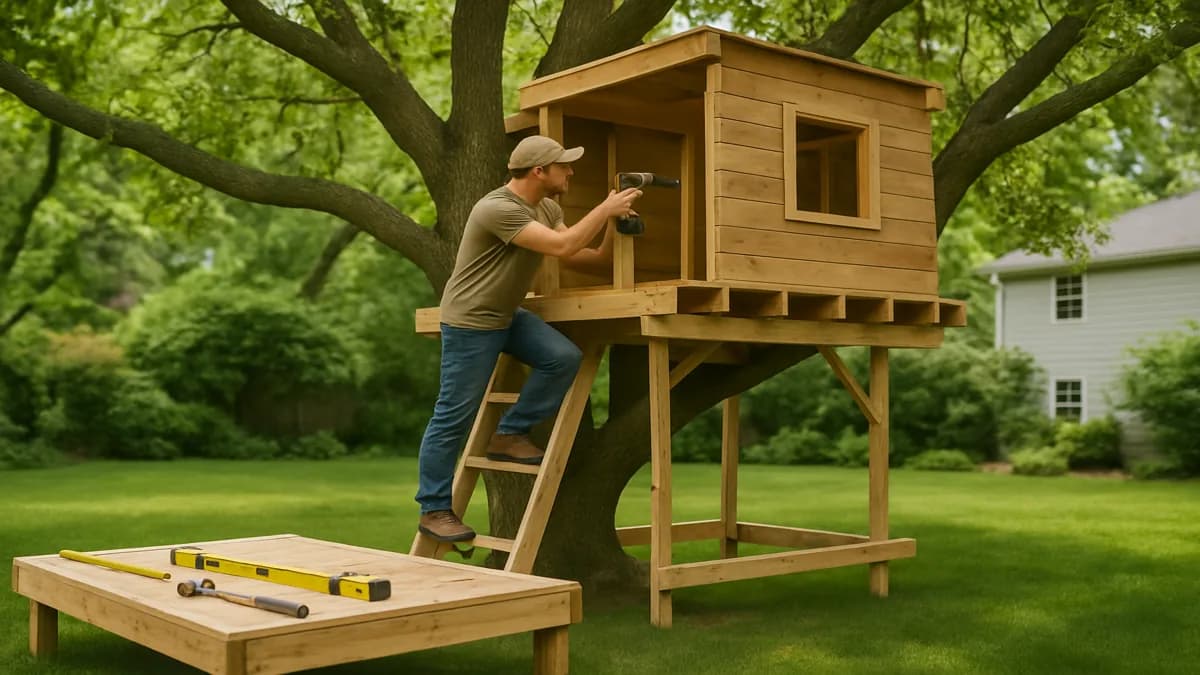
The real trick to building a treehouse isn’t the carpentry,it’s attaching to a living tree without wrecking it. Here’s how to do it right, from hardware to safety.
On this page
- 1. Pick the Right Tree (or Don’t Build at All)
- Best Trees for Treehouses
- 2. Treehouse Attachment Methods: What Actually Works
- 3. Allow for Tree Growth and Movement
- 4. DIY Treehouse Plans: Basic Steps
- 5. What Does a Treehouse Cost?
- Worked Example: 8x8 Platform
- 6. Treehouse Safety: What You Can’t Skip
- Permits, HOAs, and Neighbor Issues
- Honest Skip-It Scenario
- Where Most People Mess Up
- Ground-Supported Alternatives
- Treehouse Attachment Methods Compared
- More DIY and Landscaping Projects
If you’re reading this, you’re probably staring at a tree in your yard, wondering if you can finally build that treehouse for your kids (or grandkids,or yourself, no judgment). The big question: How do you attach a treehouse without killing the tree or risking a collapse? And what’s this going to cost?
Let’s get you from idea to safe, sturdy platform,without the usual rookie mistakes.
1. Pick the Right Tree (or Don’t Build at All) (opens in a new tab)
Not every tree is up for the job. Skip any tree with:
- Mushrooms or fungal growth on trunk or roots
- Large dead branches, deep cracks, or hollow sounds when tapped
- Leaning more than 15 degrees
- Exposed roots or heaving soil at the base
If you’re not sure, pay an arborist $150-$300 for an inspection. It’s worth it. I’ve seen too many treehouses built on half-dead maples that had to come down a year later.
Best Trees for Treehouses (opens in a new tab)
| Species | Pros | Cons |
|---|---|---|
| Oak | Strong, long-lived | Slow-growing, expensive |
| Maple (not silver) | Good structure, tough | Silver maple is brittle |
| Beech | Smooth bark, sturdy | Sensitive roots |
| Ash | Straight, strong | Prone to emerald ash borer |
| Douglas fir | Tall, strong | Needs big diameter |
| Pine | Soft wood, sappy | Not ideal, but possible |
| Willow, Poplar | Fast-growing, weak wood | Avoid for treehouses |
Minimum size: 12-inch (30 cm) trunk diameter at platform height. Bigger is better, especially for single-tree builds. For multi-tree builds, each tree needs to be healthy and at least 10 inches (25 cm) in diameter.
2. Treehouse Attachment Methods: What Actually Works (opens in a new tab)
Here’s where most people mess up: They use a bunch of lag screws or, worse, wrap the trunk. Don’t do that. Trees don’t heal,they wall off wounds. Every hole is permanent.
Best method: Treehouse attachment bolts (TABs). These are heavy-duty bolts, usually 1-1.25 inches thick, with a big collar that spreads the load. They cost $50-$120 each, but they’re worth every penny.
How many? For a small platform (8x8 feet), two TABs plus knee braces is usually enough. Bigger builds need more. Never use a bunch of small screws or nails,one big bolt is better than ten little ones.
Spacing: Stagger bolts vertically by at least 12 inches (30 cm). Never put them in a straight line around the trunk. That weakens the tree.
Floating brackets: If you’re attaching to more than one tree, use sliding brackets on one end so the trees can sway independently. Otherwise, something’s going to break (usually your platform).
3. Allow for Tree Growth and Movement (opens in a new tab)
Trees move. They sway in the wind and add girth every year. Your platform needs to allow for both, or you’ll crush the tree or snap your hardware.
- Gap around trunk: If the trunk passes through the deck, leave at least a 2-3 inch (5-8 cm) gap all the way around. For fast-growing trees, leave more.
- Don’t let decking touch bark.
- Multi-tree builds: Only fix one end of the platform; the other end should float or slide.
4. DIY Treehouse Plans: Basic Steps (opens in a new tab)
Decide on platform height
6-8 feet above ground is plenty for kids. Higher gets risky and harder to build. Don’t go above 12 feet unless you really know what you’re doing.
Install main support beams
Use two beams on TABs, level and brace with diagonal knee supports. This is the backbone,get it solid before moving on.
Frame the platform
Use 2x8 or 2x10 joists, spaced 16 inches apart, with pressure-treated lumber or rot-resistant wood like cedar. Double up joists around any trunk opening.
Decking
Use 5/4" decking boards, leave 1/8" gaps for drainage, and maintain the trunk clearance.
Railings
Build guardrails at least 36 inches high, with balusters no more than 4 inches apart. This is your main safety feature.
Walls and roof (optional)
Keep them light. Every extra pound adds stress to the tree and hardware.
Access ladder or stairs
Fixed ladder with handrails is safest. Rope ladders are fun but risky and hard for small kids.
5. What Does a Treehouse Cost? (opens in a new tab)
Materials and hardware add up fast. Here’s what you’re looking at for typical builds:
| Build Type | Materials Cost | Notes |
|---|---|---|
| Simple platform + railings | $500-$1,500 | 8x8 ft, no walls/roof |
| Enclosed (walls/roof) | $1,500-$5,000 | Adds siding, windows, shingles |
| Large/multi-level DIY | $5,000-$10,000 | Multiple trees, custom features |
| Professionally built | $10,000+ | Custom design, labor, permits |
TABs: $50-$120 each. For a basic platform, budget $200-$400 just for hardware.
Worked Example: 8x8 Platform (opens in a new tab)
- 8 pressure-treated 2x8 joists @ $15 each = $120
- 2 main support beams @ $40 each = $80
- Decking (48 linear feet @ $1.50/ft) = $72
- 2 TABs @ $90 each = $180
- Hardware, brackets, fasteners = $60
- Railings (lumber + balusters) = $100
- Total: About $600-$700 (before taxes, tools, or finishing)
6. Treehouse Safety: What You Can’t Skip (opens in a new tab)
- Guardrails: 36 inches high, balusters max 4 inches apart
- Soft landing zone: Spread 9-12 inches of wood chips or engineered mulch under the treehouse
- Annual checkups: Inspect bolts for tightness, check for constriction or tree damage, look for dead limbs above
- Post a load limit: Don’t overload,especially with a dozen kids at a birthday party
- No DIY wiring: If you want lights, hire an electrician. Treehouses are high fire risk
Permits, HOAs, and Neighbor Issues (opens in a new tab)
- Permits: Some towns don’t care about small playhouses, but anything big, enclosed, or with utilities might need a permit. Always check before you build.
- HOAs: Many ban visible structures over fences or near property lines. Read the rules.
- Neighbors: Don’t build a treehouse that looks straight into someone’s bedroom. It’s a fast way to make enemies.
- Property lines: Double-check before you start. Trees near the edge can cause legal headaches.
Honest Skip-It Scenario (opens in a new tab)
If your only tree is a skinny, leaning, or half-dead maple, skip the treehouse. Build a ground-supported play fort instead. You’ll save money, avoid lawsuits, and keep your tree alive.
Where Most People Mess Up (opens in a new tab)
The most common mistake: Using a bunch of lag screws or nails instead of real treehouse bolts. The tree ends up riddled with holes, weakens, and you get a wobbly platform. Spend the money on proper hardware.
Ground-Supported Alternatives (opens in a new tab)
If your tree isn’t up for it, you can build a platform on posts next to or around the tree. You get the treehouse feel, but with less risk and easier permitting.
- Use 4x4 or 6x6 posts, set in concrete below frost depth (usually 2-4 feet deep, depending on your region)
- Platform at your desired height
- Tree canopy overhead, but no load on the tree
Treehouse Attachment Methods Compared (opens in a new tab)
| Method | Tree Health Impact | Load Capacity | Cost (per point) | DIY Difficulty |
|---|---|---|---|---|
| Treehouse Attachment Bolt (TAB) | Low | High | $50-$120 | Moderate |
| Lag Screw | Moderate-High | Medium | $5-$15 | Easy |
| Wrapped Cable/Chain | High (bad) | Medium | $10-$30 | Easy |
| Floating Bracket | Low | High | $40-$80 | Moderate |
More DIY and Landscaping Projects (opens in a new tab)
Frequently asked questions
Calculators for this job
Landscaping Cost Calculator
Pick a project, enter its size, and set your market. You'll get a DIY material cost and an installed cost range, with the drivers behind the spread spelled out.
OpenConcrete Calculator
Get cubic yards and exact bag counts for slabs, footings, cylindrical piers, and stairs, plus whether mixing bags or ordering ready-mix makes sense at your volume.
OpenKeep reading
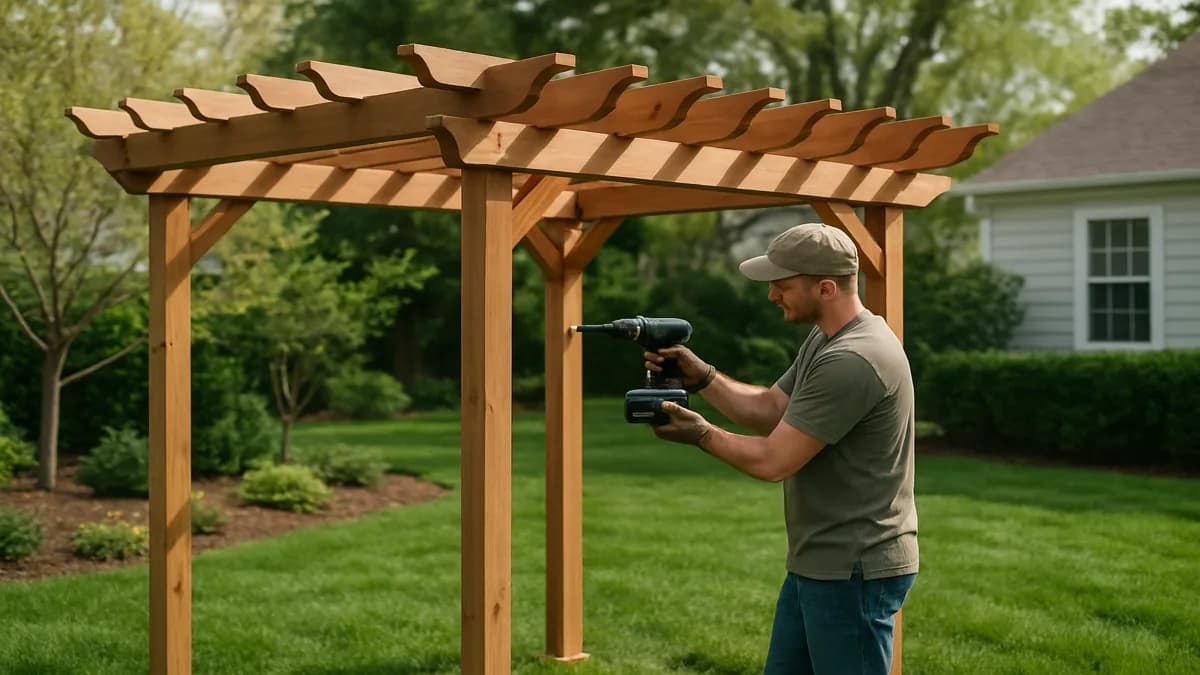
Pergola Types, Costs, and How to Avoid Regrets
Not all pergolas are the same. Get the facts on types, costs, and planning so you don’t waste money or end up with a sunburn trap.
7 min read
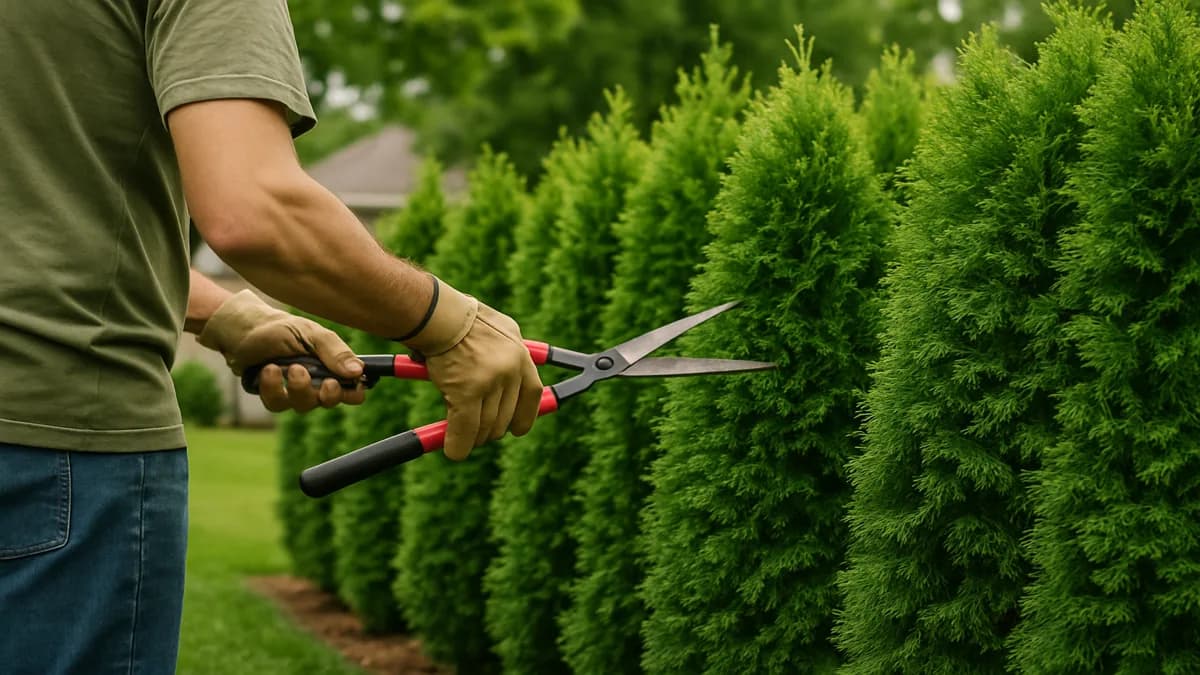
Privacy Plants That Work: Fast, Dense, and Right for Your Yard
Choosing privacy plants is about more than speed. Get real advice on spacing, climate fit, and which hedges actually work for small yards or tough spots.
6 min read
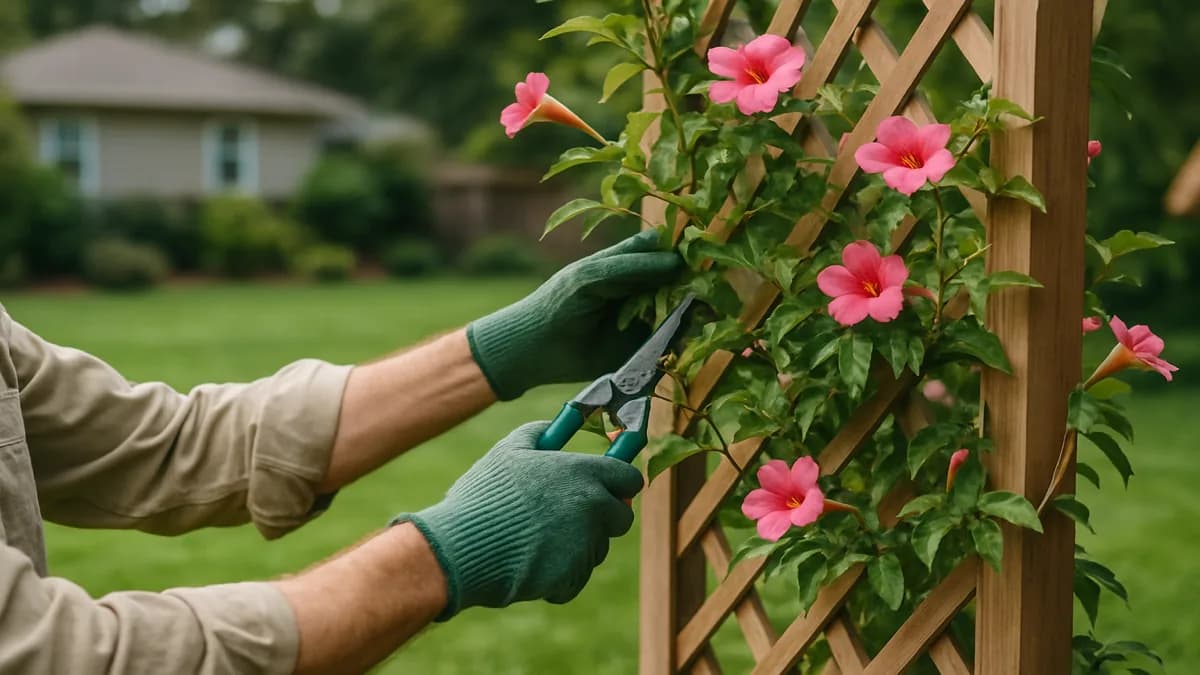
Flower Vines for Your Yard: What Works, What Wrecks, and What to Skip
Not all flower vines are friendly. Here’s how to pick the right climbers for your yard, match them to supports, and dodge invasives and home damage.
7 min read
Spotted something out of date or wrong? Tell us , we correct guides rather than leaving them to rot.